
Claire saw these awesome little jewelry holders in a Martha Stewart magazine, and she decided we should make some. I THINK the idea is to use items you already have laying around the house, but we went and purchased all the supplies. In hindsight, it would have been cheaper to buy a pre-made thing, but that would have ruined all the fun. So! Let's get to work!
First, you'll need the appropriate supplies:

(I wasn't sure if I was hot or cold, so I wore a sundress and a thick fleece. It just felt right.)
Okay, then you need to get a board and something to cover the board with. Martha Stewart suggested wallpaper, but after a very useless trip to the wallpaper store, Claire and I discovered that even SAMPLES of wallpaper are pretty pricey. Instead, we opted for expensive gift bags and fancy wrapping paper from Target. Somehow, it added up to be more than the wallpaper. Whoops! Claire + me = Not Good Math. Anyway, here are my choices:


Then you have to wrap up the wood like a little ol' birthday present. This was my favorite part, since I love wrapping presents.


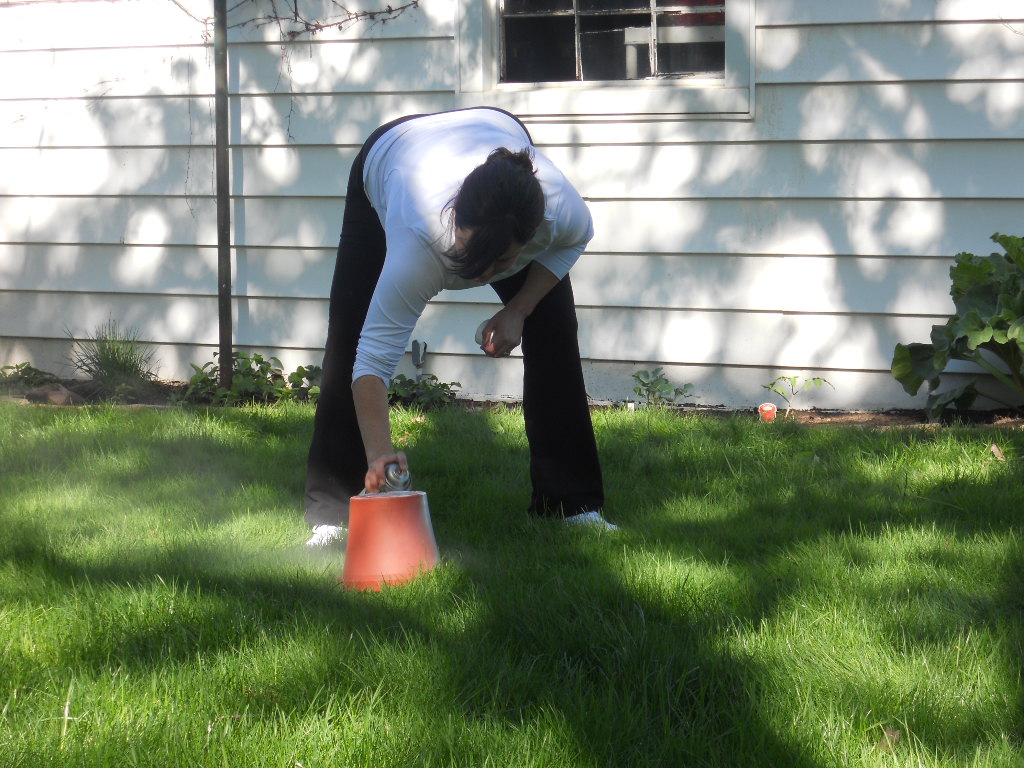
See, the tricky part here is the spray adhesive.

Go ahead and wrap up the wood until it's a purdy and flat and lovely.

Now, if you are CLAIRE, you'll start losing interest in the current project, and start on another project.
Eventually, we had to get back to business. We had to screw in these little hooky deals into the wood. This proved to be difficult.

Note: Do NOT try and hammer in a screw hook. It will NOT work. After like an hour of failed attempts to try and get the screws in (Claire - please buy an electric drill), we finally managed to the hooks in. Also, given our earlier failed attempts to do math, we decided to straight up forgo the whole "measuring" nonsense.
Here are my finished products:


Aren't they totally adorable?! I love them. Here's an "action shot" (you know, they are ACTIVELY holding some random jewelry).


Oh, one other note. We forgot to add the thingamabobs on the back so that we could HANG these up (hence the LEANING against a wall, which kind of makes the whole thing useless for now), but that'll be a project for another day. Anyway, I love 'em. I'm pretty proud of myself for actually MAKING something, with my own two (now blistered) hands. And just a head's up for people who have birthdays coming up: Guess what yooou're getttttting!
All in all, great weekend, and now I actually have something to SHOW for it! Let's get this week started!
4 comments:
Very attractive...but get those "thingamabobs" attached so that they can be used!
Thanks, Grandmaman! Yes, I need to put those things on. I just hope they are easier to put on than the screw hooks!
good job!! VERY IMPRESSES!
omg YOU FINALLY fixed your comment thingie,,,,,,,,,,,anyway regarding your "CRAFT" ..hahahahahahaahahaha!
Post a Comment